Chargebee is a simple and easy to use subscription management software that takes care of all your billing requirements. Right from setting up plans to customer checkout to automating recurring payments, Chargebee is a one stop solution to streamline your subscription and billing operations. With billing out of your mind, you can focus on the bigger picture - your business.
This implementation guide will quickly help you get started with Chargebee. If you'd like to learn in detail about each module, take a look at our Overview page.
Given below are the key configurations that you need to set up to get started with Chargebee.
A Site is the heart of a Chargebee account. This is where you'd maintain all your information in Chargebee. Your account in Chargebee will have two sites - Test Site and Live Site.
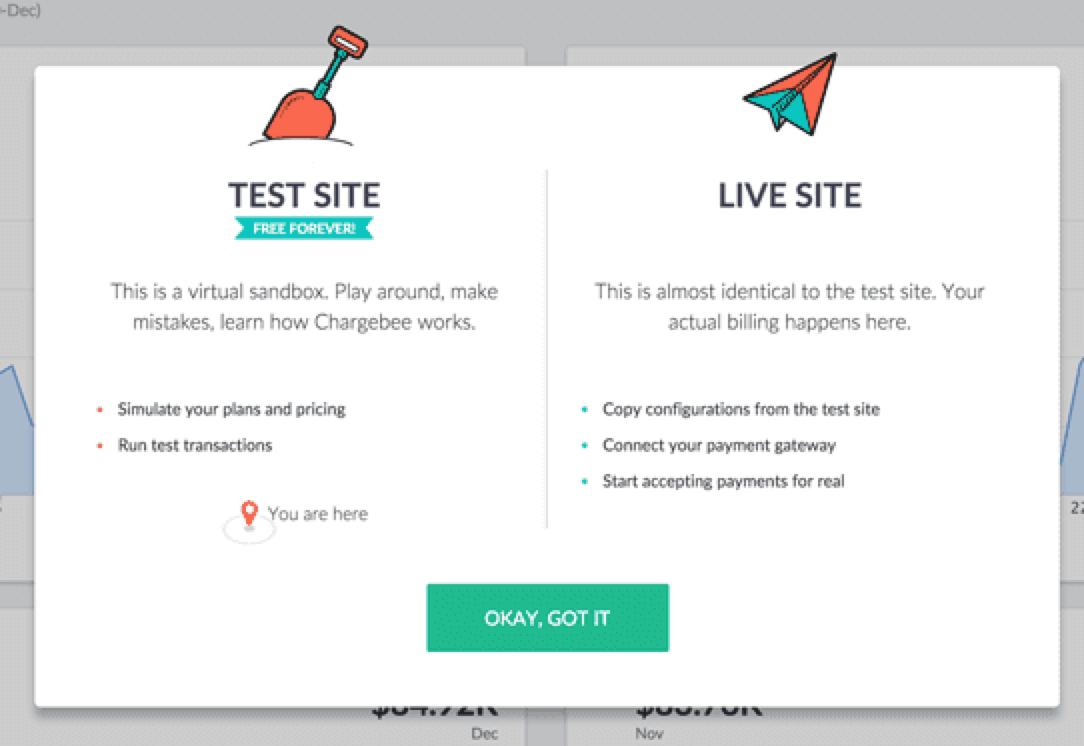
When you sign up for Chargebee, by default the test site will be created for you. The test site is a sandbox environment where you can get a hands-on experience of Chargebee. You can test your billing configurations, create plans, customers, subscriptions, and play around with the product. The information that you add or delete here will have no effect on your actual customer data.
The Live site will be disabled when you initially sign up for Chargebee. Once you have tested all the features of Chargebee and want to start billing your customers in real time, you can go ahead and enable your Live site.
Learn more about Chargebee Sites.
Before you set up the Product Catalog, it is necessary to do the following in your Chargebee site:
To set up your currencies, click Settings > Configure Chargebee > Currencies > Add Currency.
To configure billing frequencies, click Settings > Configure Chargebee > Billing > Product Catalog Settings.
In the Product Catalog Settings page, you can select your preferred billing frequencies based on which you will be able to create your Plans and Addons.
Learn more about the configuring billing frequencies.
You can define the plan and add-on price-points in each currency and billing frequency, and integrate the corresponding plans in your Checkout page. Learn more about defining price-points for plans.
A Product Catalog in Chargebee consists of your product families, plans, add-ons, charges, and coupons.
When your business offers multiple products or services, product families in Chargebee help you with categorizing your plans and addons based on the product or service that you offer. Your plans and addons are presented to customers based on product families in such a way that they can only upgrade or downgrade between plans within the same product family. For example, an addon from the "Project Management" Product Family cannot be applied to a plan under "Incident Management System".
Learn more about product families.
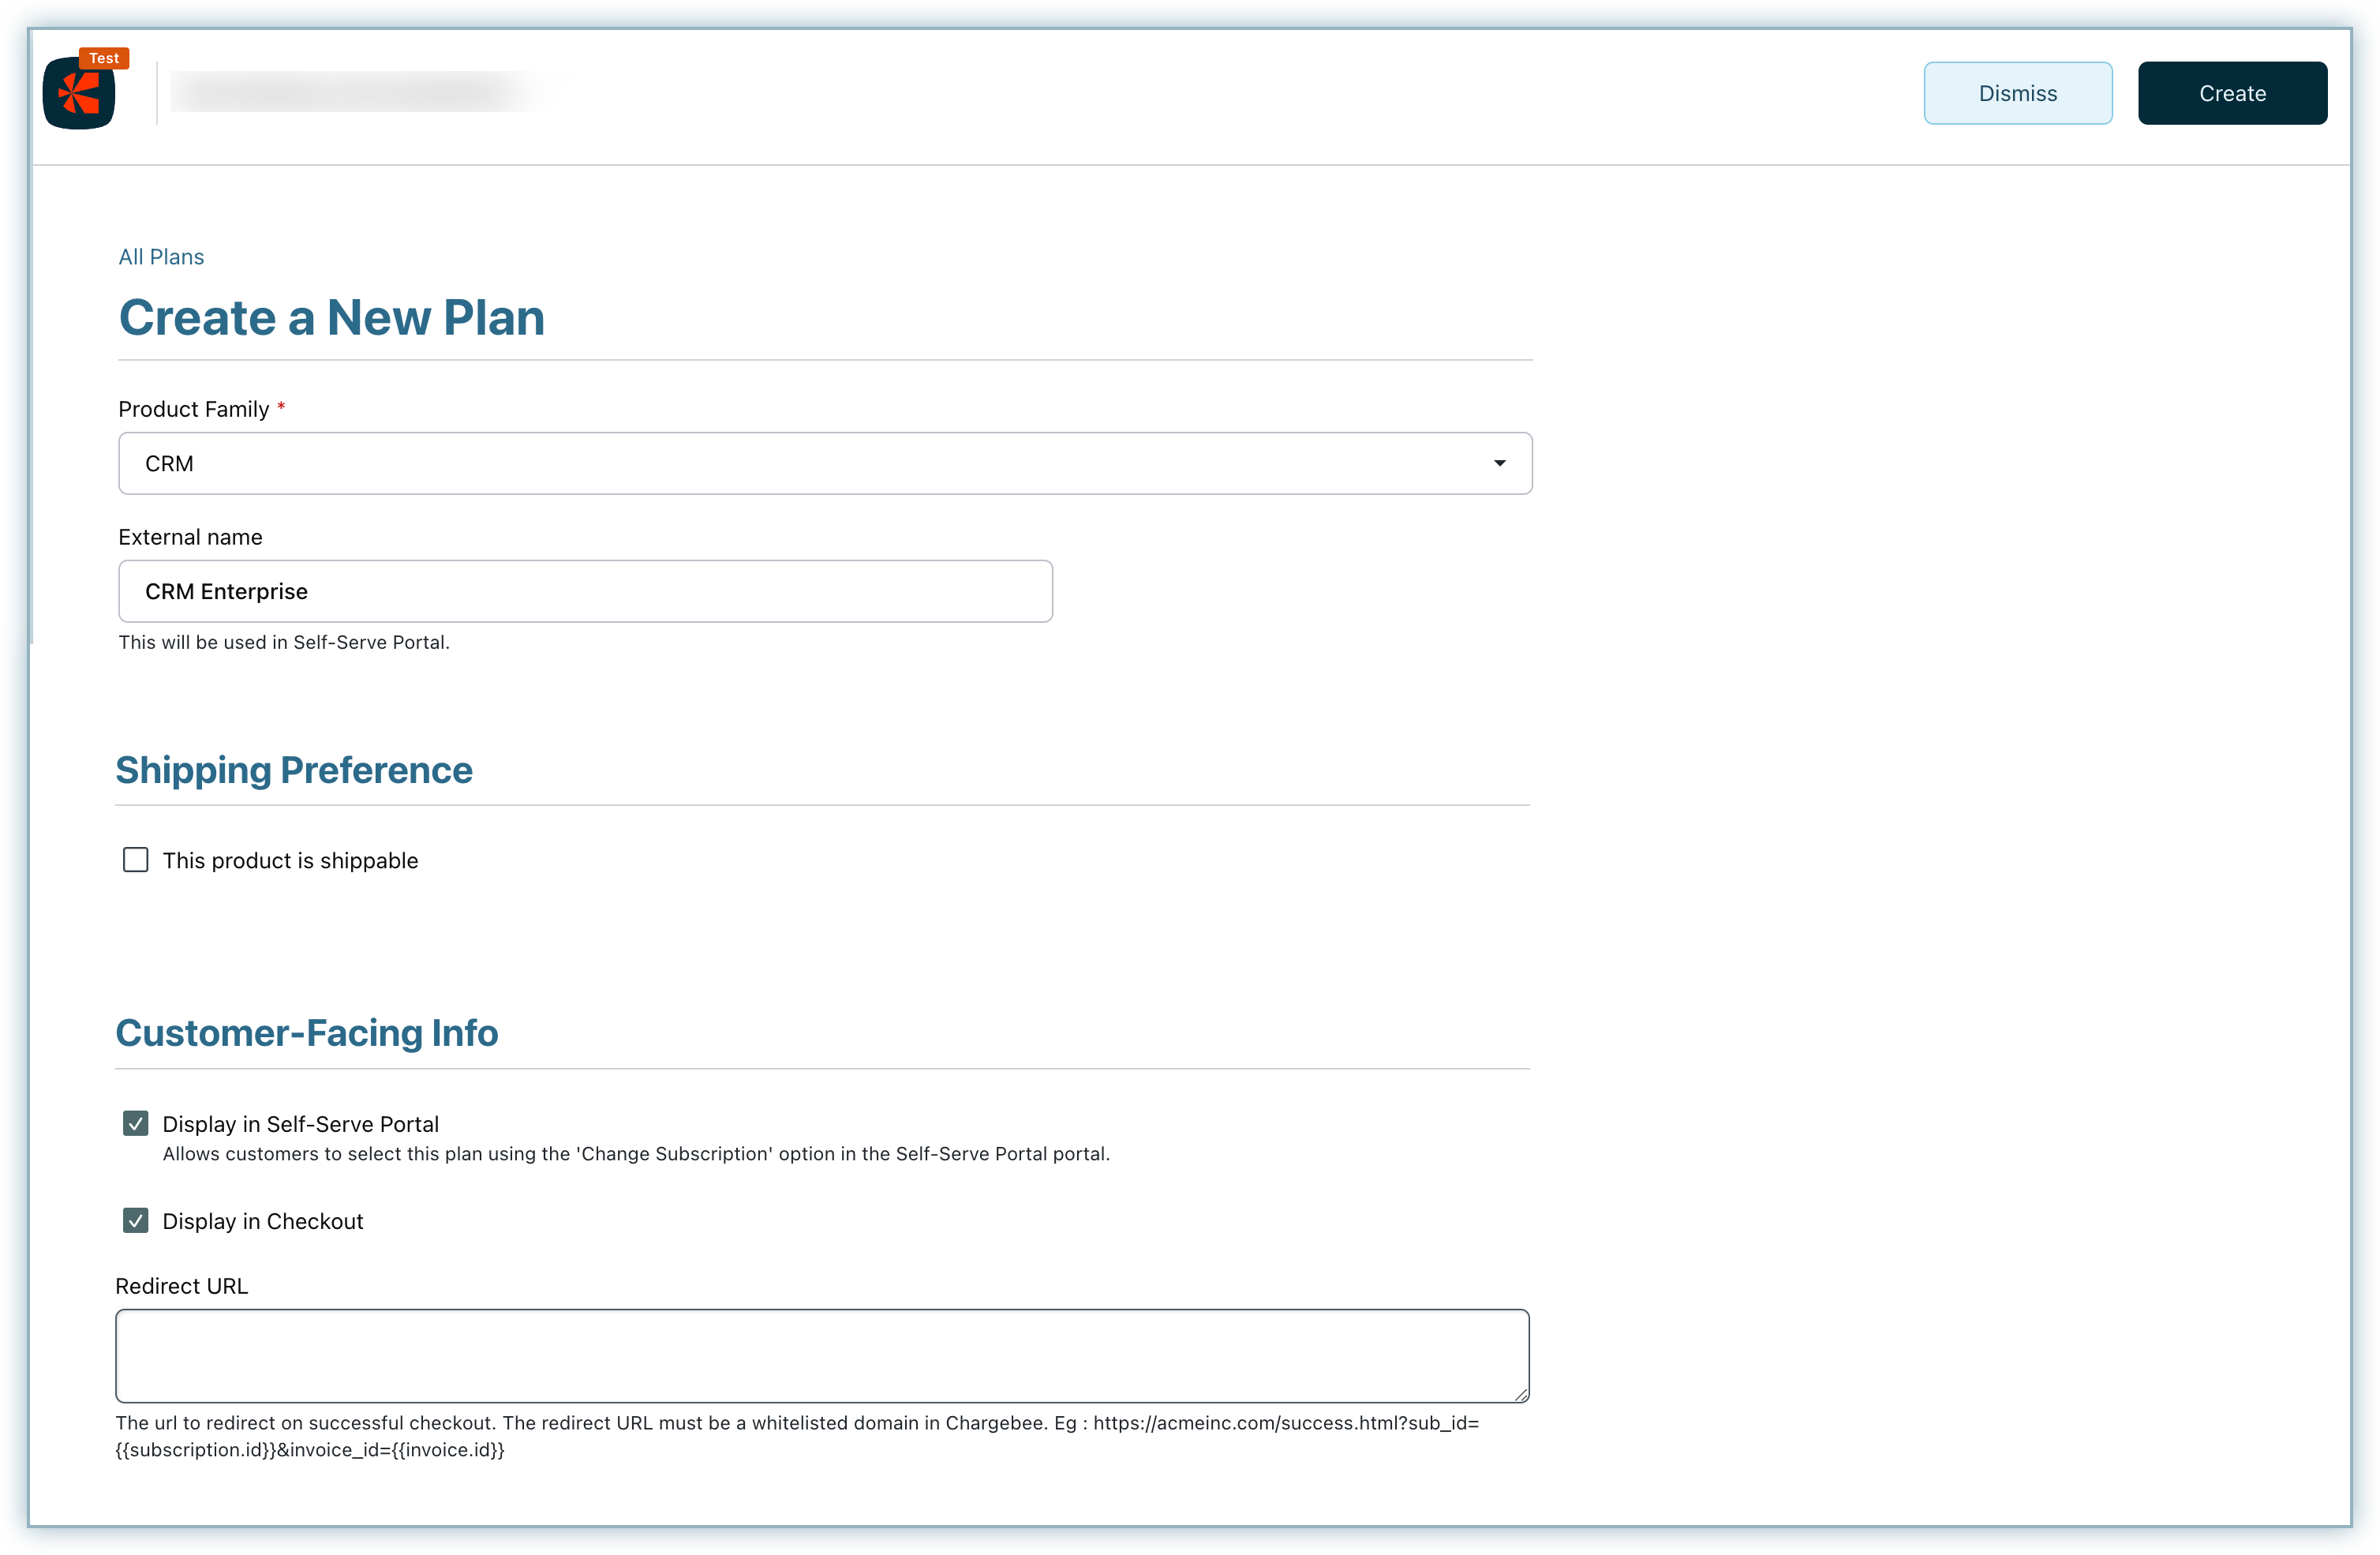
Pricing your product can be a challenging task especially if you are starting up. Chargebee allows you to easily create plans and pass them to checkout pages.
Pricing your plans also depends on the business that you are running. For instance, if you are a media house business, you might consider setting up weekly, monthly or annual plans where as if you are a SAAS provider you might want to limit your plans to just monthly and Yearly. Chargebee allows you to create plans based on your need. You can swiftly set up free trials, manage quantity, add a setup fee, define price points for various currencies and billing frequencies, and do much more while creating a plan. You can use price points to define the plans availability in currencies and the billing frequencies in which you are selling your products.
As your business grows, the pricing models can also change. Chargebee allows you to easily choose the model that will support your business. It supports Flat Fee, Per Unit, Volume, Stair-step and Tiered pricing models. The ease of plan management in Chargebee will empower your team to implement pricing changes with confidence.
In case you have a shippable product, it is recommended that you enable Orders. Chargebee Orders automatically creates orders for your shippable products. This way, a plan or addon with shippable goods will have one or more orders attached to it, each corresponding to a particular shipment. An order would thus keep details such as items to be shipped, the share of invoice amount associated with the shipment, shipping date, status of the shipment, billing/shipping addresses, tracking Id etc. Learn more about Orders.
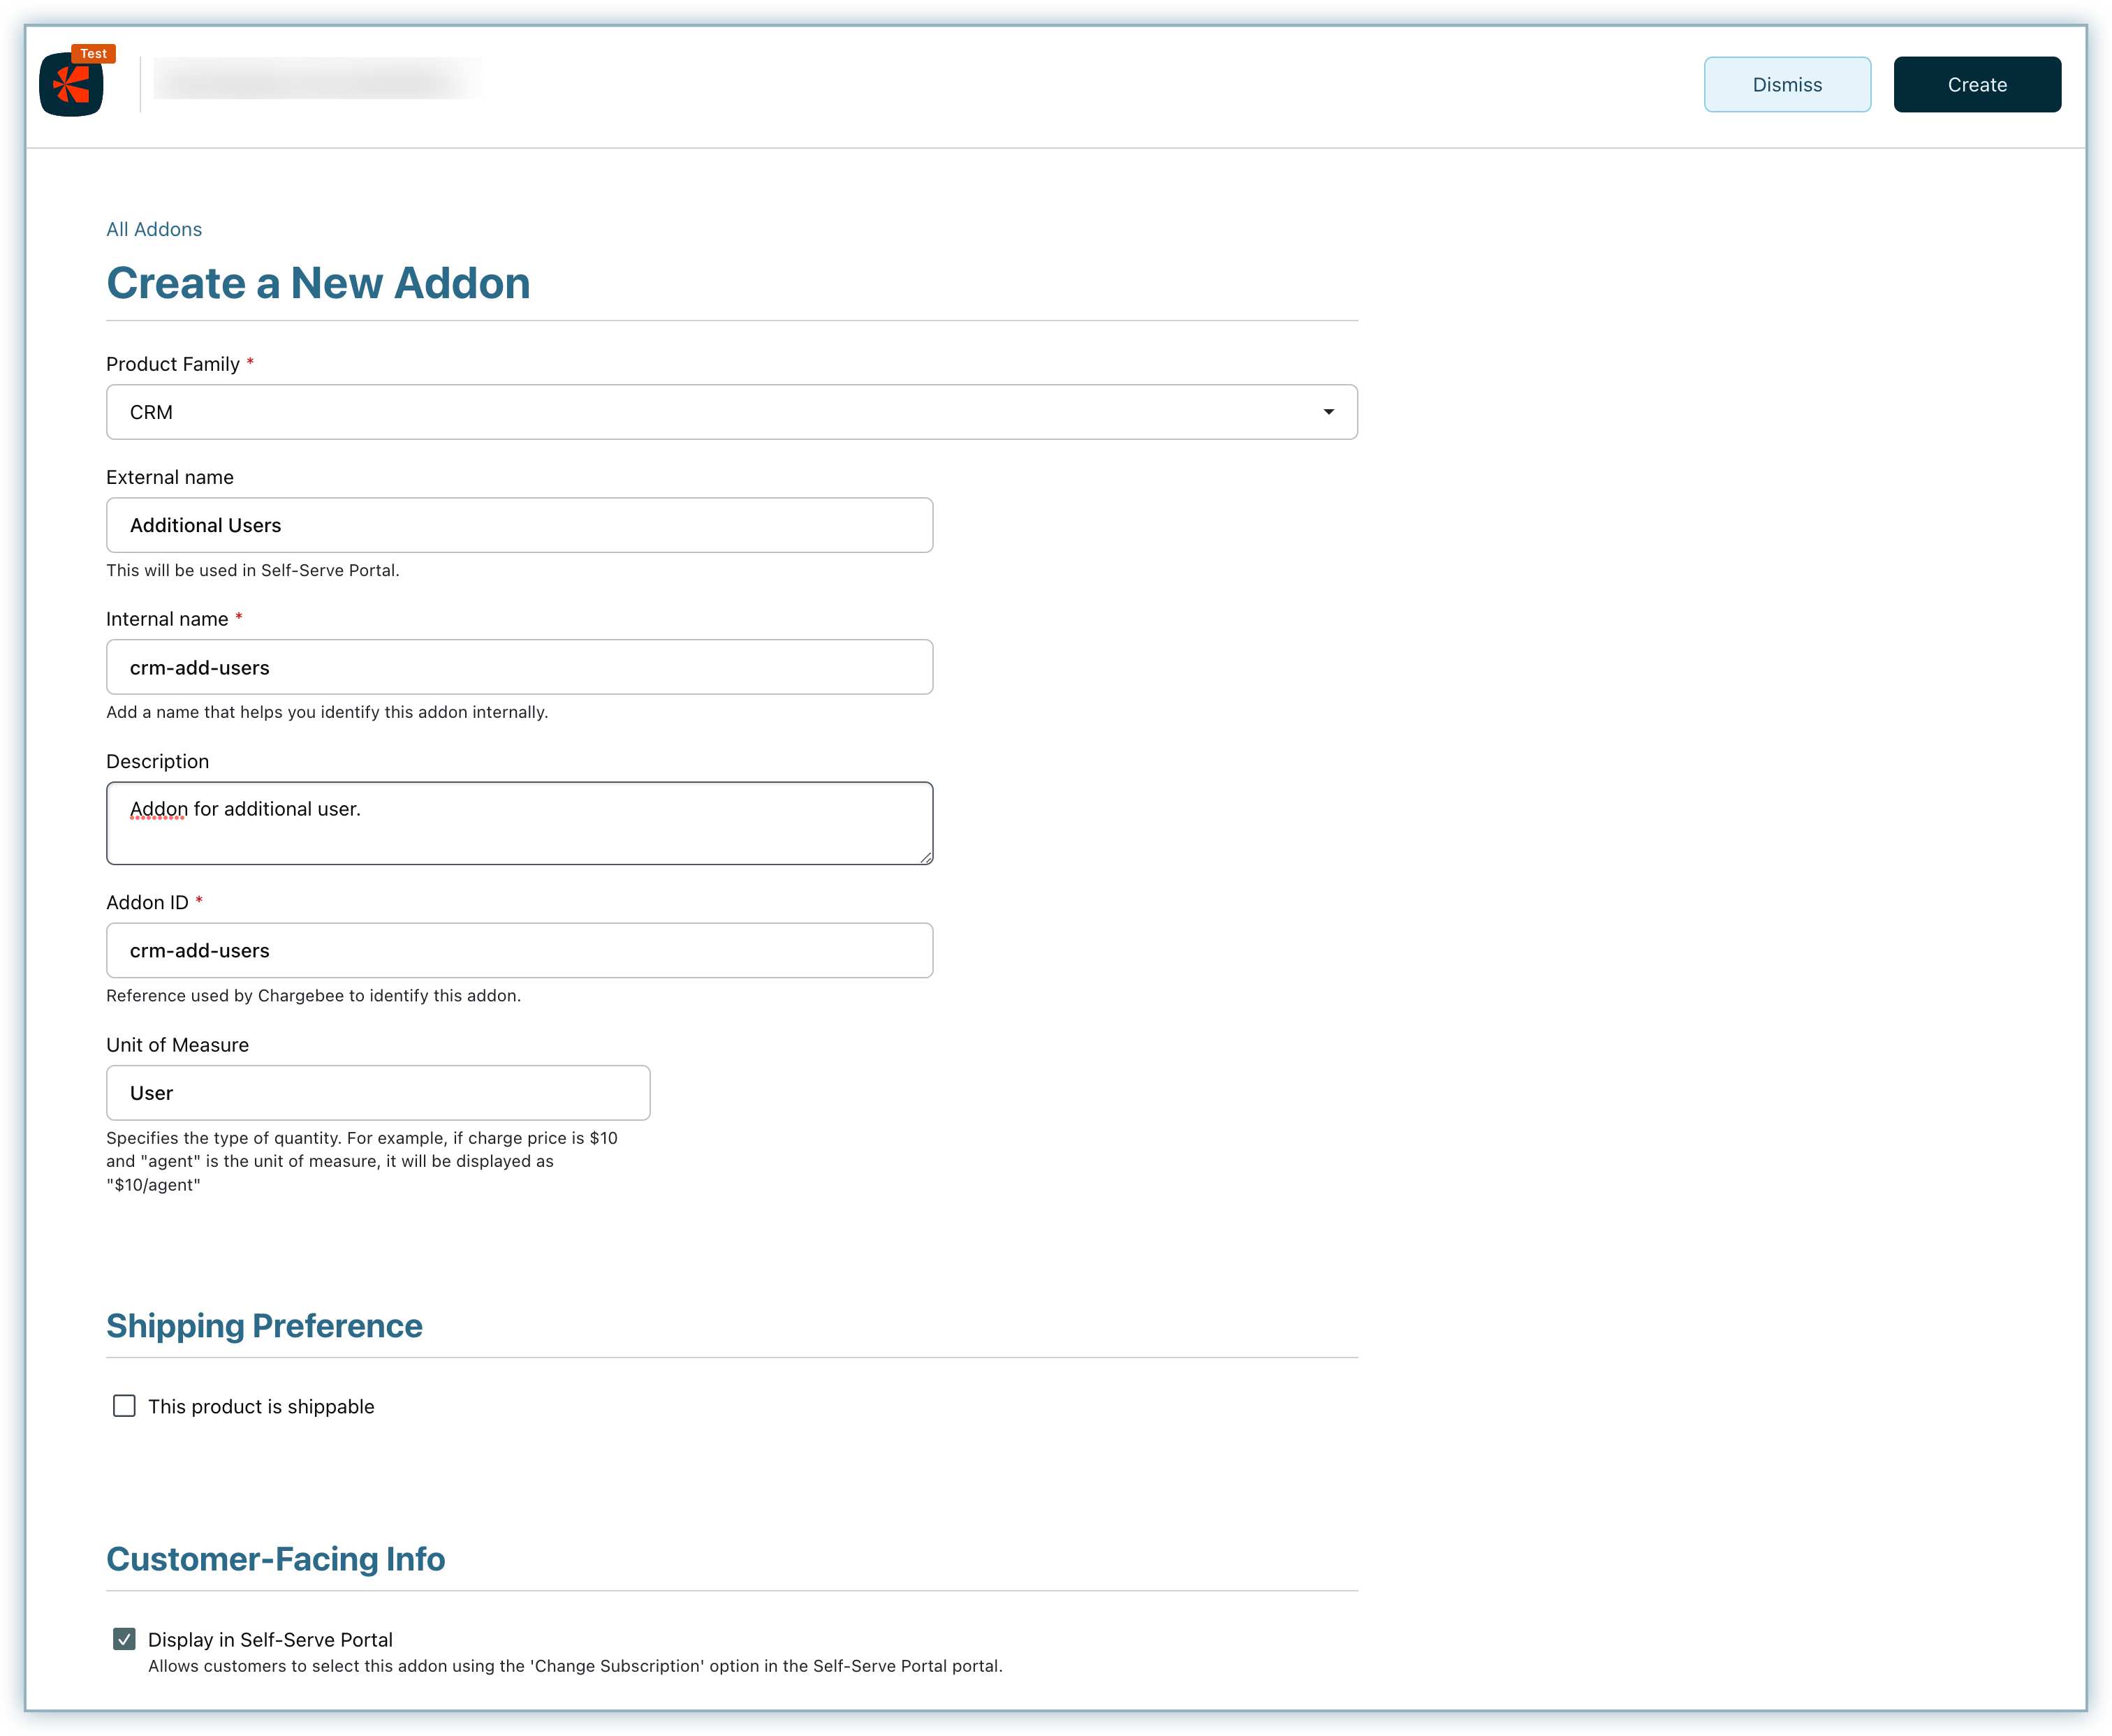
Add-ons are a great way of selling additional products/services to your customers and boost your sales revenue. Let us say, you are selling a book box which has a theme for every month. You can cross sell the merchandise as an add-on.
For a subscription business, some products are recurring while some aren't. Chargebee understands that and allows you to create add-ons and charges based on your business needs. Once done, you can seamlessly integrate your add-ons with your plans during checkout and start selling.
Promotions and incentives play a key factor in driving customers toward a product and in boosting sales. And one way of doing this is by using coupons. Chargebee's flexible couponing system ensures that you can configure discounts to the line-item level, depending on your business needs.
Chargebee offers integration with about 25+ top payment gateways across the globe. You can choose the payment gateway that would cater to your needs and integrate with them in less than a minute. Chargebee understands that every lost customer in recurring revenue equals loss of revenue opportunity over their lifetime (LTV). Therefore, you can set up multiple gateways and switch in seconds to avoid payment failures.
You can configure a payment gateway of your choice by clicking Settings > Configure Chargebee > Payment Gateways > Add Gateway
Learn more about Payment Gateways.
When you process payments, transactions could get declined for various reasons starting from insufficient funds to expired cards or even connectivity issues. Chargebee's dunning functionality retries payments automatically and sends reminders based on your Dunning Configuration. Read more about Dunning.
In Chargebee, taxes are applied whenever an invoice is generated for either a subscription, renewal or a one-time charge. You need to configure taxes for every region you have customers in.
Here is how you configure taxes.
While using Chargebee to manage your subscriptions, you can customize all the customer facing essentials such as your invoice, checkout, portal or even your emails that are sent from Chargebee to speak/reflect your brand. You can setup your logo, icon (and favicon), and brand colour.
You can configure your brand elements by selecting Settings > Configure Chargebee > Brand Styles.
Checkout plays a crucial role in your entire website. It is a critical source of your business revenue, cause this is where your leads and prospects convert as your customers.
Chargebee Checkout gives you the flexibility to design the page according to your website's look and feel. It also provides a smooth checkout experience for your customers while purchasing products or services from your site.
Chargebee offers you flexible options when it comes to checkout. You can either use Chargebee's plug and play modal (drop-in script) or build it on your own using API.
Drop in script is widely used by our merchants and can be integrated with your website in just a few seconds. You can choose to configure fields, display charges, taxes, a thank you message and play around with multiple workflows to suit your business needs. All that you have to do is add an auto generated script for the plan within your HTML page.
Learn about configuring Checkout using drop-in script.
Chargebee provides a seamless and efficient self-serve portal for your customers to manage their account information. Your customers can add, edit, pause or cancel subscriptions, download previous invoices, manage payment methods and their shipping/billing address using this self serve portal.
You can access the portal settings by selecting Settings > Configure Chargebee > Checkout and Self Serve Portal > Portal
Learn more about self serve portal
Email is a prime channel of communication with your customers. Chargebee allows you to configure mails that can be sent to your customers at various points of their life cycle. These emails can be triggered for actions in subscription, payment, invoice, customer retention etc.
The email notifications sent to your customers, by Chargebee, are broadly categorised into:
Within each category, there are default email notifications available. You can either edit and make changes to the default email notifications or create your own email notifications.
Learn more about email notifications.
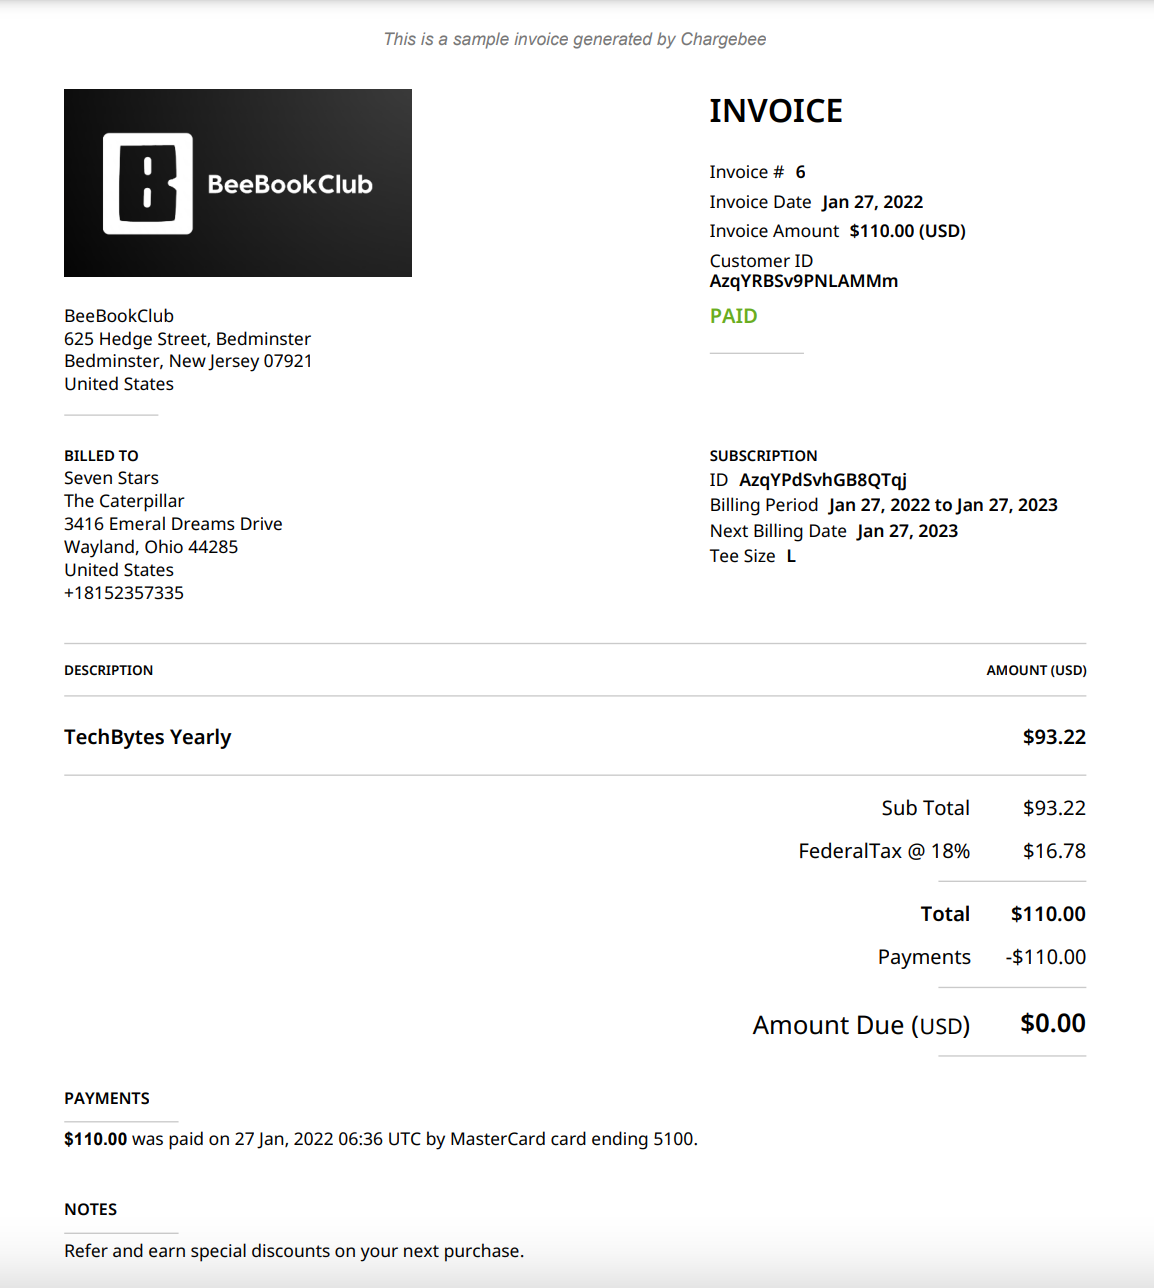
An invoice is a commercial document issued by the merchant to the customer, during a sale listing the products, quantities, and the amount to be paid. An invoice in Chargebee is generated every time a customer is charged.
You can configure the look and feel of your Invoices by navigating to Settings > Configure Chargebee > Invoices, credit notes and quotes > Invoices.
Shown below is a sample Invoice. You can view all your invoices from the Invoices tab under Invoices and Credit Notes.
A credit note is a document sent by the merchant to the customer, notifying that a credit has been provided to their account. You can either create a Refundable Credit Note or an Adjustable Credit Note. The type of Credit Note that can be created depends on the invoice status.
This is how you create a Credit Note:
Here is a sample Credit Note:
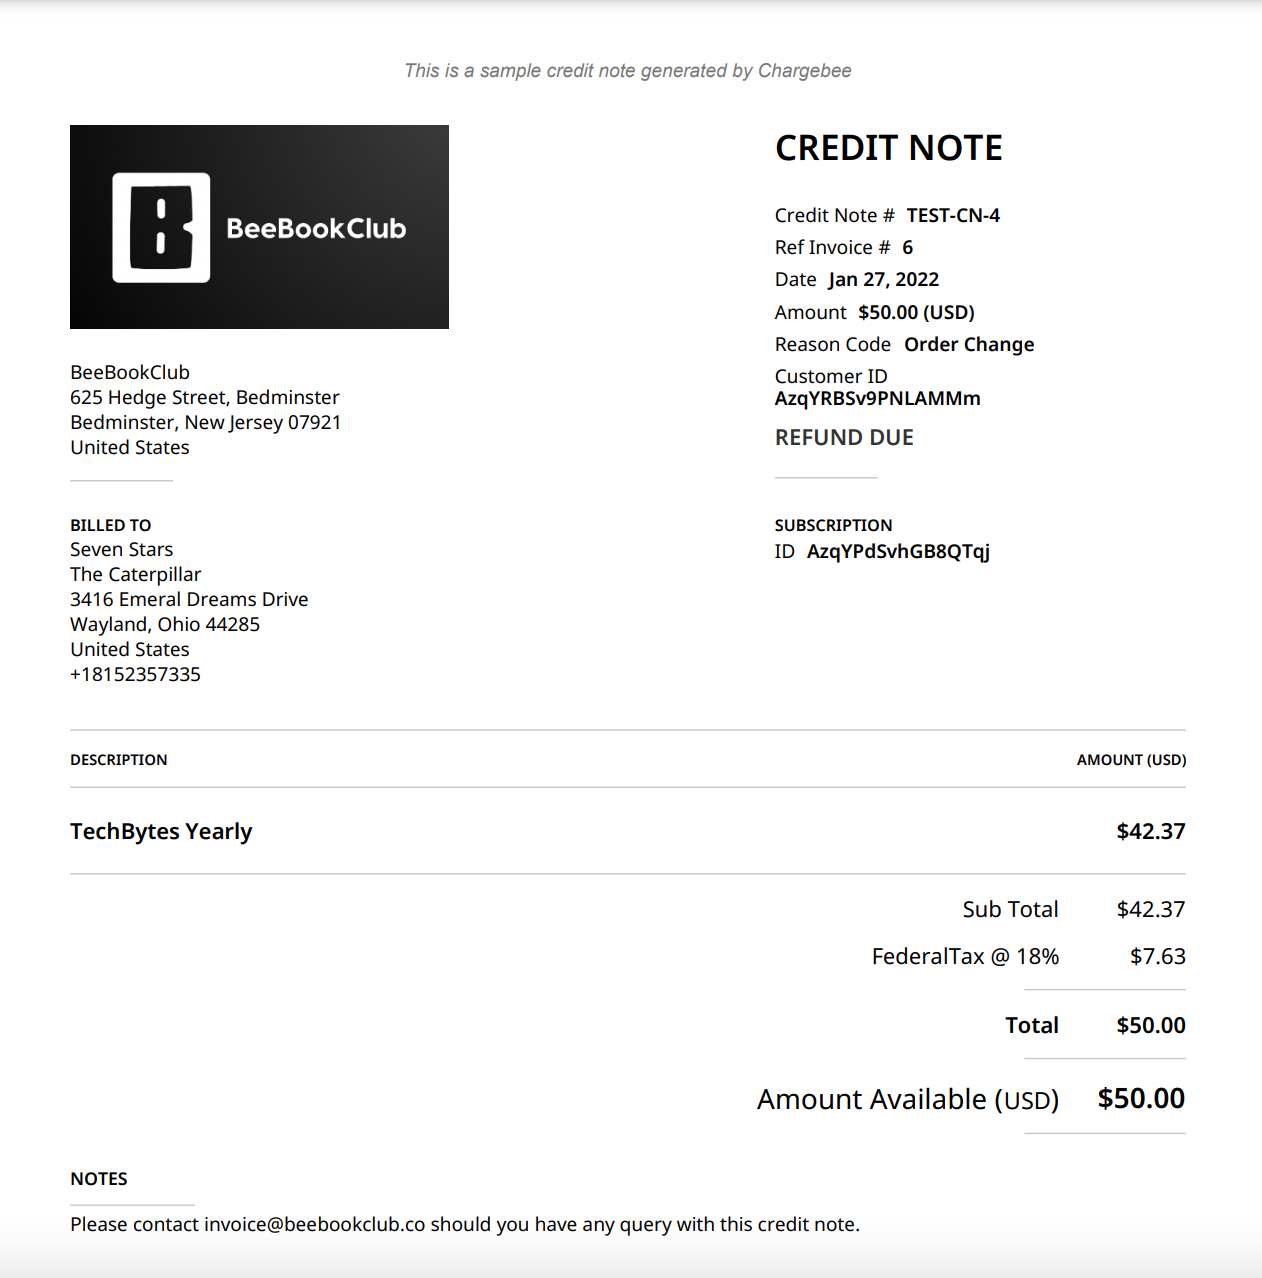
You can configure the look and feel of your Credit Notes by navigating to Settings > Configure Chargebee > Invoices, credit notes and quotes > Credit Notes.
Learn more about Credit Notes.
Once you have tested all the features of Chargebee and want to start billing your customers in real time, you can go ahead and enable your Live Site.
To activate your Live Site, click the Go Live Button next to your site name. We understand that it is quite tedious to configure all these settings in the Live Site once again. Therefore we allow you to copy most of the configurations from your Test Site to the Live Site. Read more about this.
We also recommend you to take a look at our Go Live Checklist and ensure that you checked all the points before you start charging your customers.