CyberSource is a payment gateway solution that allows merchants to safely accept payments across multiple sales channels, worldwide. You can integrate and use CyberSource as a payment gateway in Chargebee to effectively process your payments.
CyberSource is available for companies based in Asia Pacific, Europe, Latin America, and North America. Click here to see if CyberSource is supported in your location.
Chargebee supports only card payments made via CyberSource.
Due to recent world events, you may experience failures for payments originating from Russian financial institutions or instruments. We recommend reviewing guidelines issued by respective payment gateways for additional information.
Chargebee provides two options to integrate with CyberSource.
Chargebee Checkout and CyberSource Payment Gateway:
The customer's card information is collected by Chargebee's Checkout and passed on to CyberSource. This option will relieve you from taking care of PCI Compliance requirements. All that you will have to do is fill in and submit this Self Assessment Questionnaire to stay compliant.
Chargebee API and CyberSource Payment Gateway:
The customer's card information must be collected at your end and is passed on to Chargebee. Chargebee will then route the card information to CyberSource. PCI compliance requirements must be taken care by you.
Chargebee uses Spreedly, a third party card vault, to store the customer's card information. If you are using CyberSource's service, you will have to migrate your customer's card information to Spreedly to start using CyberSource with Chargebee. Contact [email protected] for more information about the migration process.
Login to Chargebee Live Site. You can configure CyberSource only in your Live Site.
Step 1: Click Settings > Configure Chargebee > Payment Gateway > Add a Gateway > CyberSource
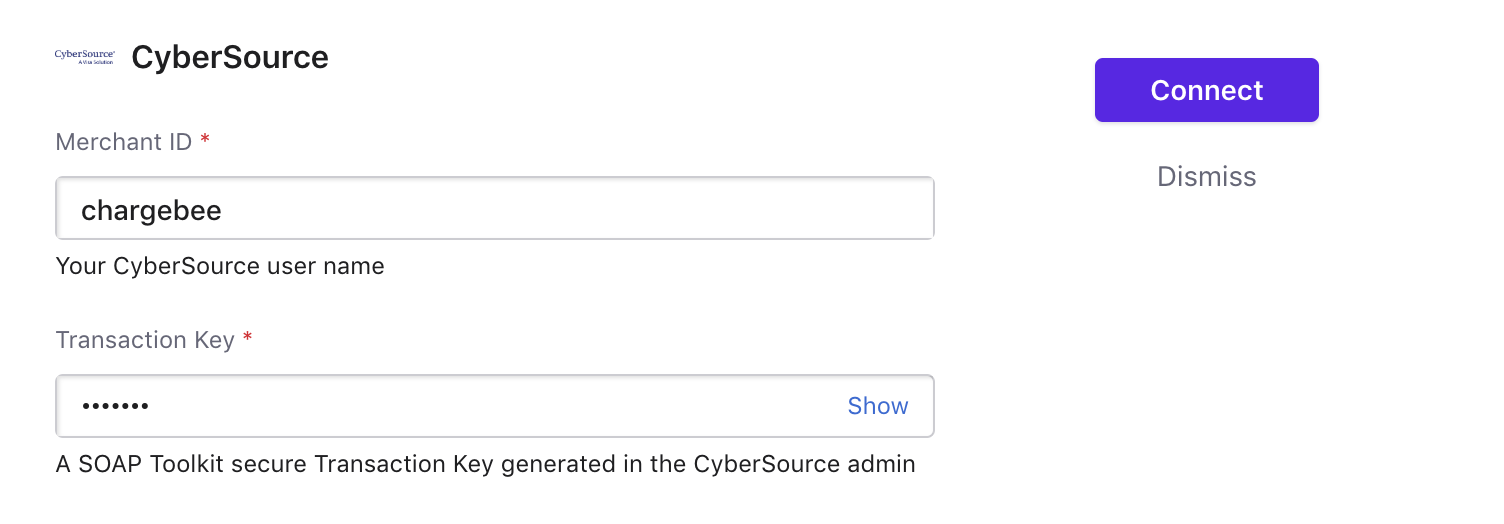
Step 2: Enter your Merchant ID and Transaction Key. Click Connect.

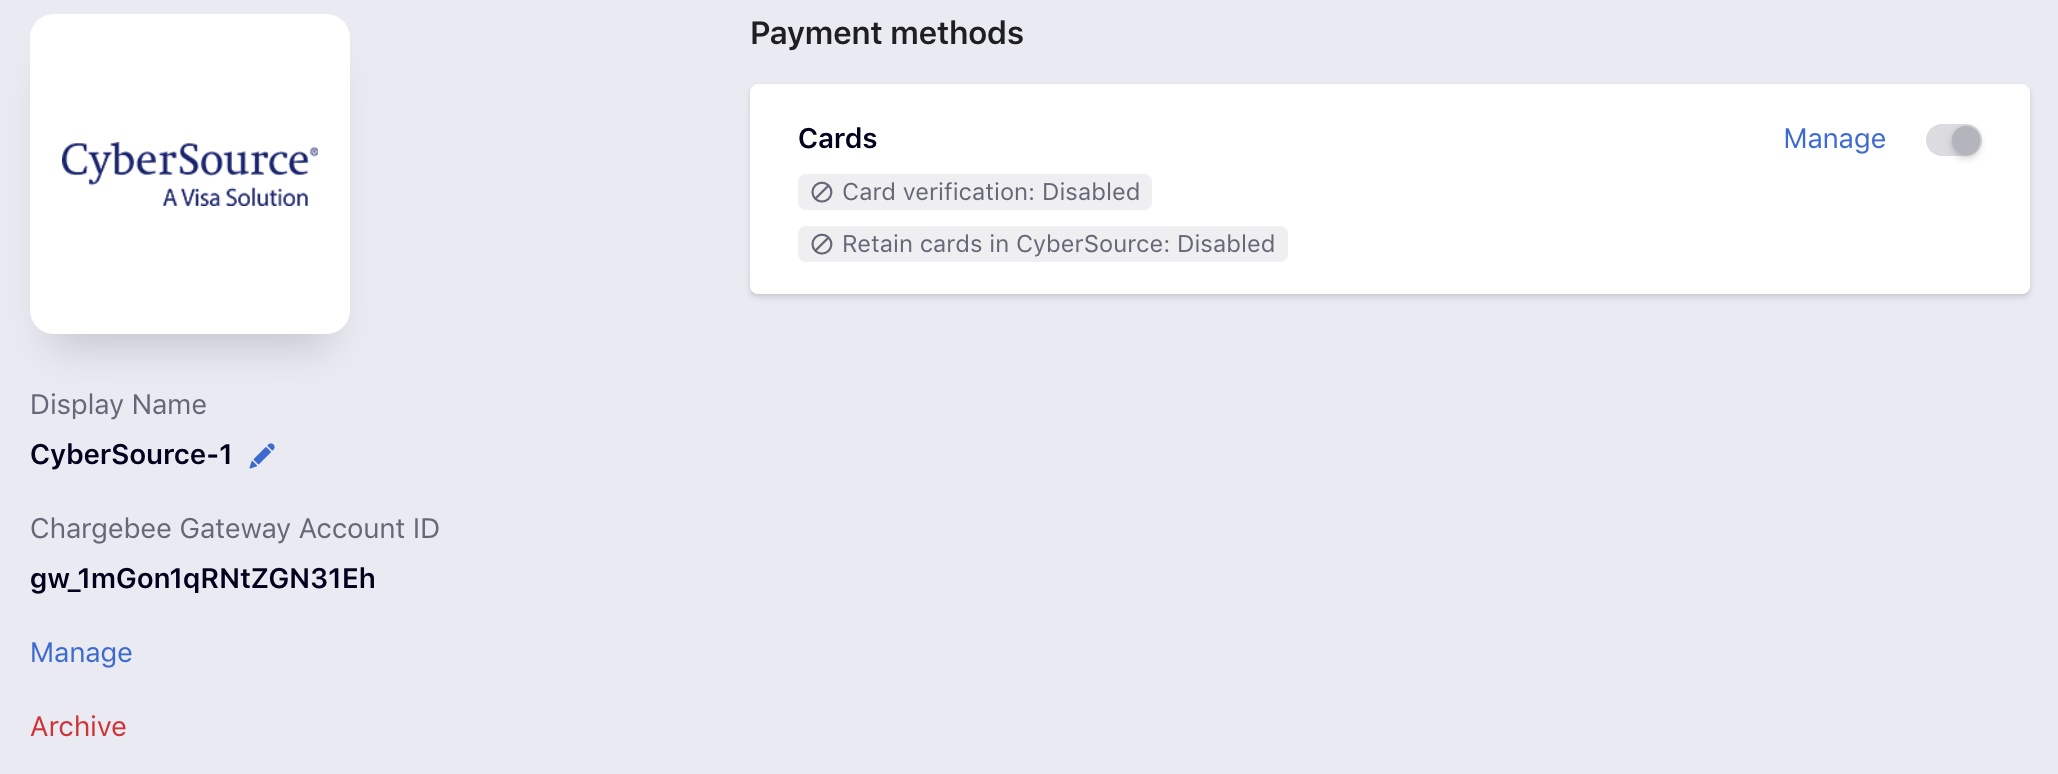
Step 3: You have now configured CyberSource. To configure the cards setting, click the Manage link.

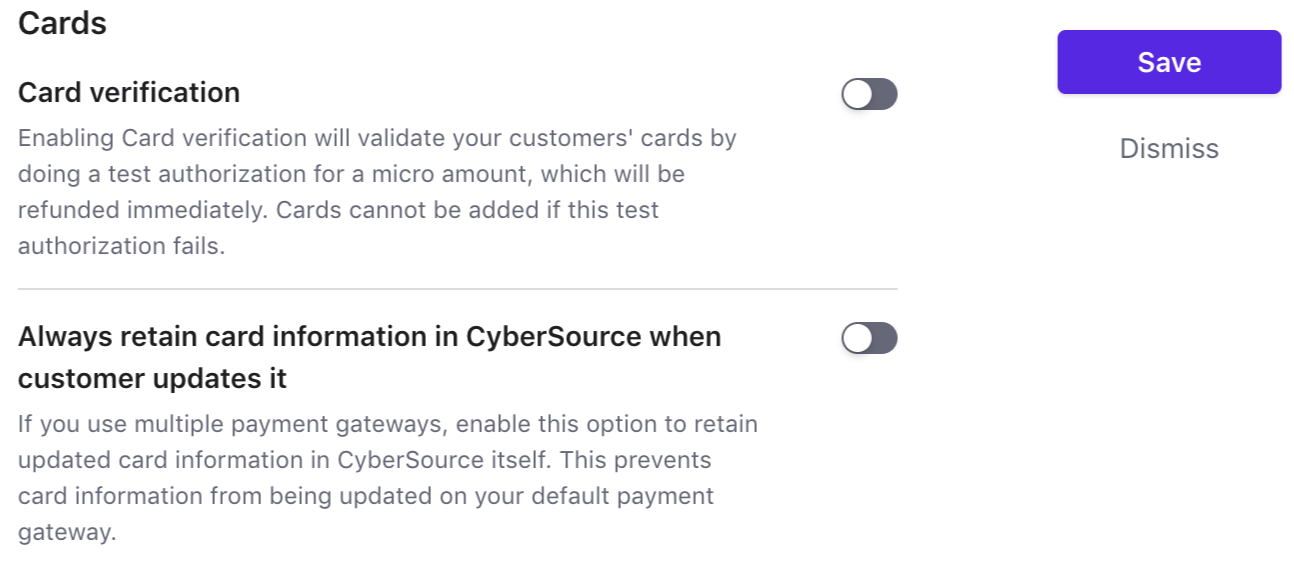
Step 4: The Cards setting will open up as shown below. Select the necessary settings.

Step 5: Click Save.