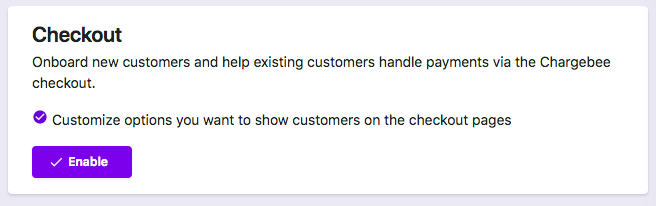
As a merchant, Chargebee provides a powerful configuration capability that you can use to build the checkout, the way you want.
To access the configuration screen click Settings > Configure Chargebee > Checkout and Self Serve Portal. You can configure the settings from this screen.
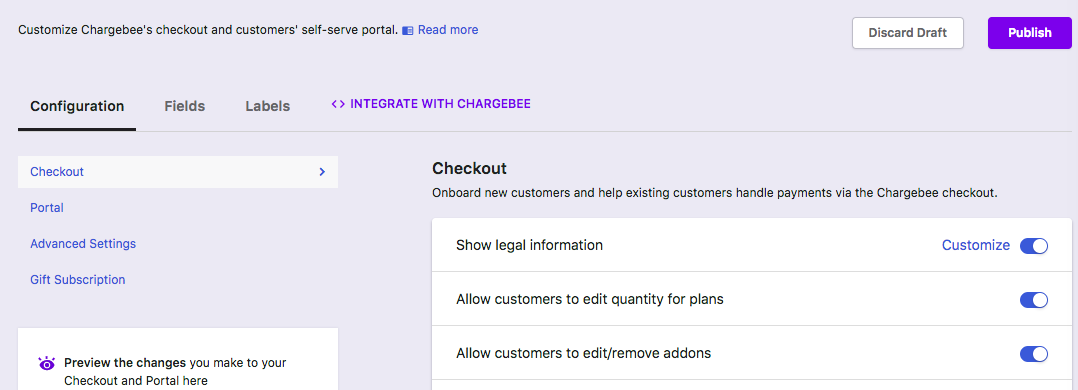
The settings you configure here are elemental in deciding what goes into your checkout window.
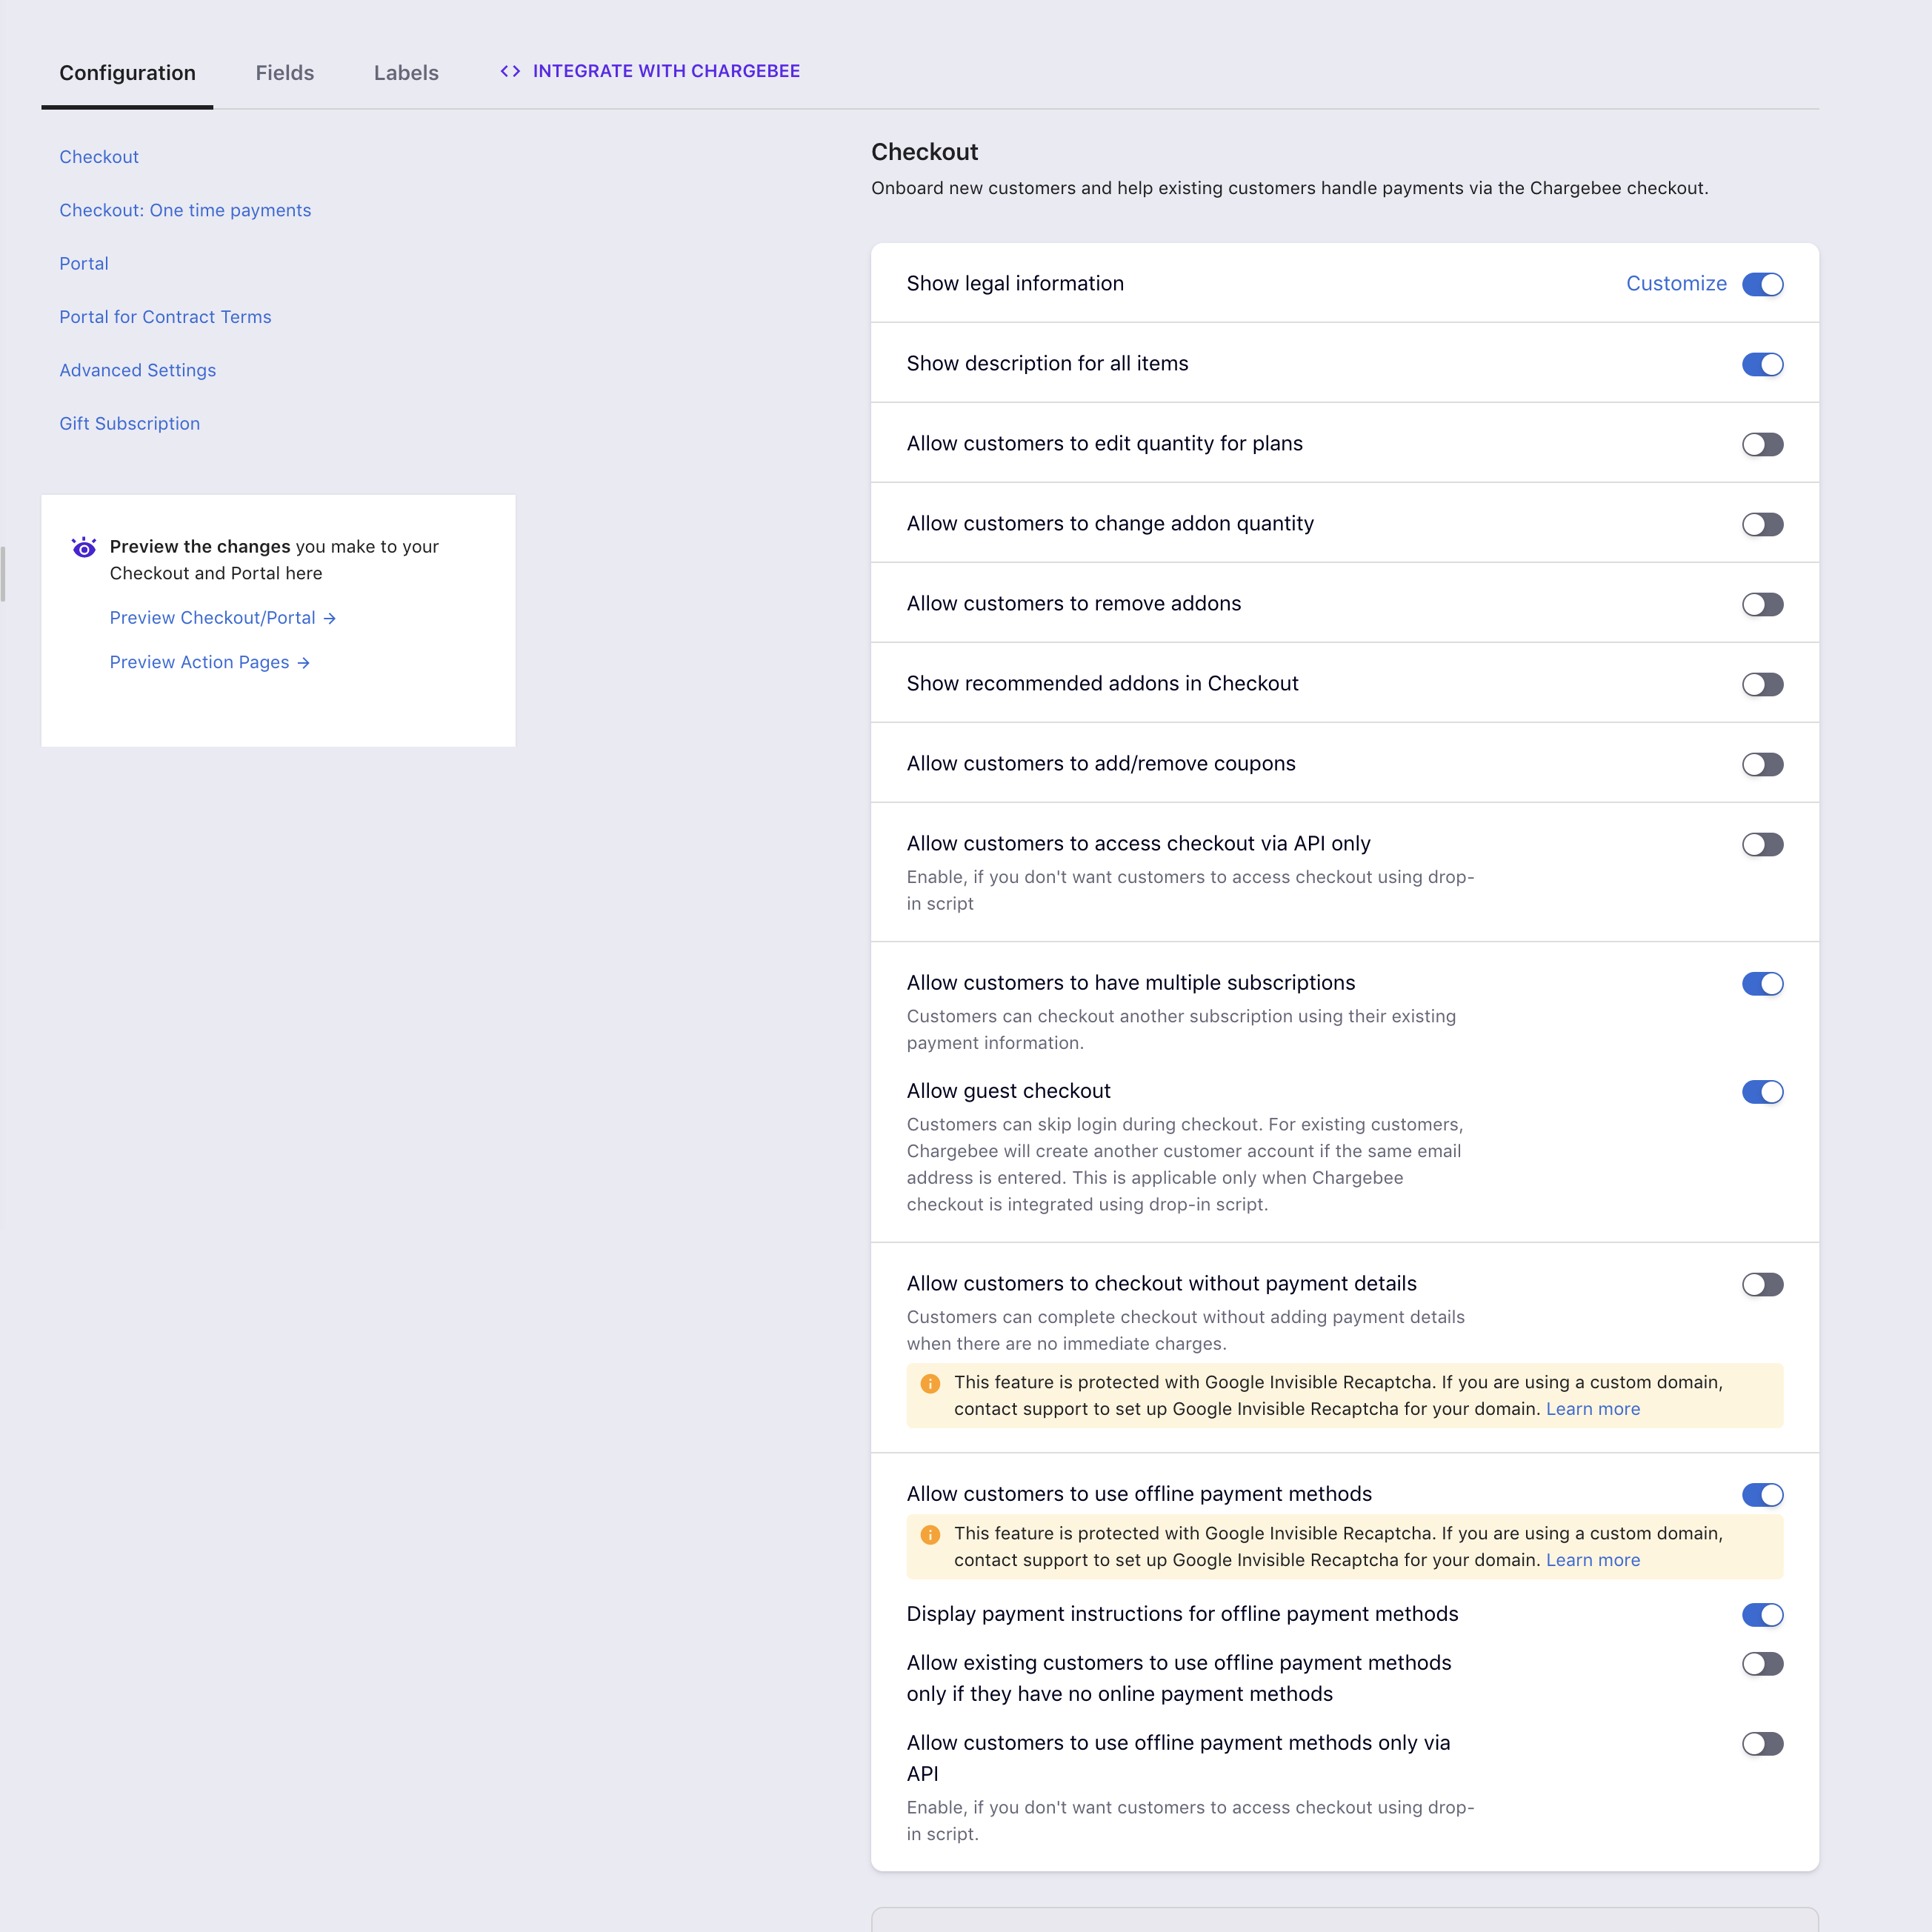
Below are the settings you can configure:
You can choose to get consent or just display the Terms and Privacy links for your customers while they checkout.
Enable to display the descriptions of plans and addons in Checkout.
To add descriptions, navigate to the respective plan or addon page in Chargebee user interface and click Edit. Add a relevant description to the Description field and click Update.
You can allow your customers to edit the quantity of products by enabling this setting.
Merchants can also set a minimum and maximum quantity for their plans using meta configuration. Learn more about this here.
In case you do not want your customers to edit the quantity of the plans, we'd recommend you to not enable the ‘Allow customers to edit the quantity of plans' setting.
Enable the ‘Allow customers to add/remove coupons' setting in Chargebee in order to allow your customers to add/remove coupons.
Enabling this option would show recommended addons to your customers as a separate section in the first page of Checkout.
Customers can click Add to include the recommended addon in their subscription.
If the Allow customers to change addon quantity and Allow customers to remove addons options are enabled, customers can also edit the quantity of addons and remove addons.
You can allow your customers to change the quantity or remove the add-ons that you have added along with your plan. To know how to pass an add-on with a plan, refer to this link.
Enable the ‘Allow customers to change addon quantity' setting to allow your customers to edit the addon quantity.
Enable the ‘Allow customers to remove addons' setting to allow your customers to remove the attached addons.
Enabling this option will disable all drop-in script links. In case you have used a drop-in script in your site, we recommend you to streamline your API workflow first and then enable this setting.
On enabling this option the Grab code link next to your plan will be disabled and the drop in scripts will stop functioning instantly. To use drop-in script again, disable this setting.
This allows your customers to create multiple subscriptions using the same payment details.
Enabling this option will allow your customers to checkout as a guest which means your customers can check out without having to sign in to their account.
When an existing customer uses this option to checkout, a new 'customer' entry will be created in Chargebee and the subscription will be associated to it. This will lead to an instance where the same customer has 2 customer IDs in Chargebee.
This is not applicable if you have used Checkout via API.
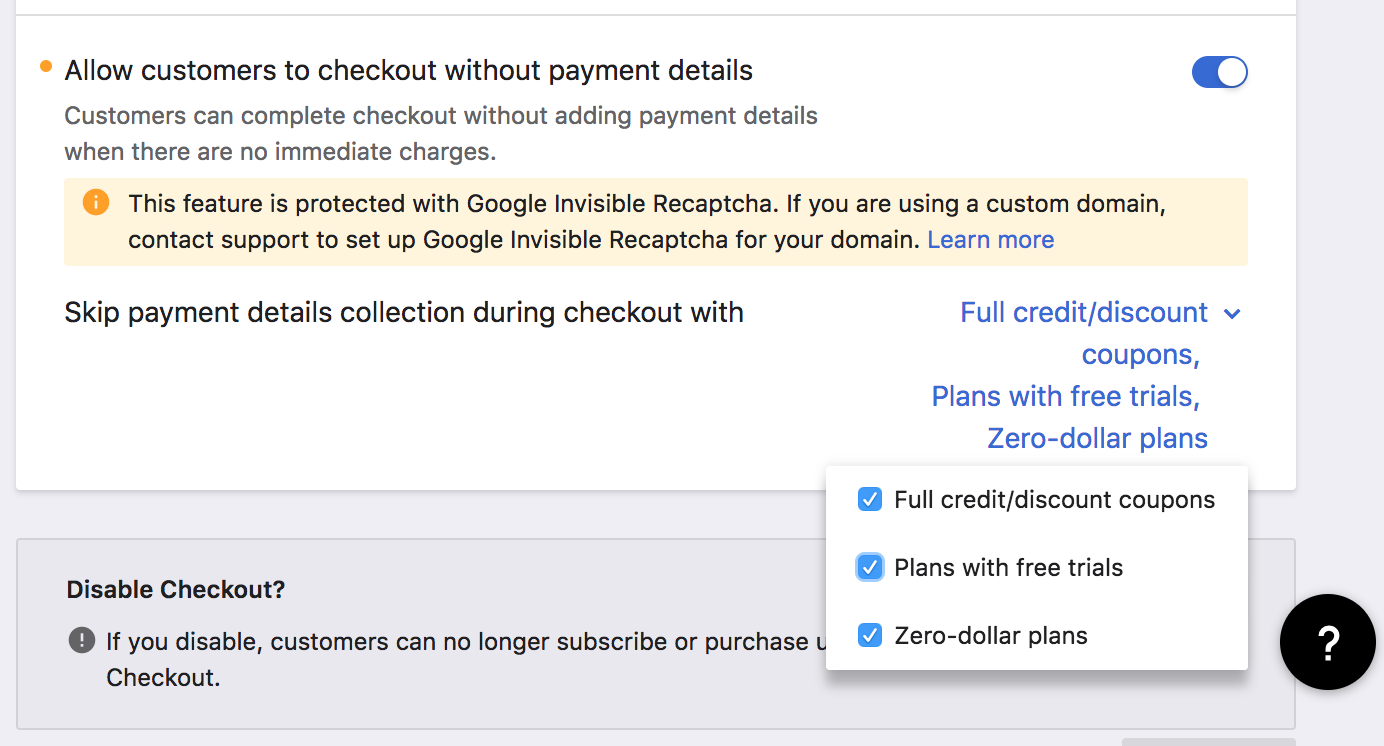
Chargebee enables you to allow your customers to complete their checkout without adding a payment method to their subscription. This functionality is built in order to offer a smooth checkout experience for your customers who are skeptical about adding a payment method to their subscription before actually trying the product/service.
The checkout without payment method feature enables you to:
This feature is protected using Google Invisible reCAPTCHA to stop spam checkouts by bots. To use this feature:
Read the Frequently Asked Questions on Checkout without Payment Method.
Chargebee also allows you to configure certain advanced settings to make work easier for you and your customers. You can find these settings under Settings > Configure Chargebee > Advanced Settings
In this section, you will be able to:
Toggle this option to hide the free-of-charge line items during the checkout process through the In-App Checkout and Self-Serve Portal.
Hide Zero-Value Line Items setting under Billing LogIQ applies only for invoices and is independent of this setting.
Chargebee uses Google Autocomplete to suggest addresses as your customer starts to type in. On enabling this option, your customers can easily choose their address from the suggestion.
Autocomplete addresses also works in the self-serve portal when the customer wants to modify billing/shipping address.
Allowing customers to add multiple payment methods against a single customer offers both revenue assurance and flexibility.
Enabling the ‘Allow customers to add multiple payment methods' will allow your customers to add as many payment methods that they want using the checkout screen.
Once you have collected multiple payment methods for a Customer, you or your customer can tag one as a Primary payment method and another as a Backup payment method.
Learn more.
On enabling this option, your customers will not be able to view the order screen. They will be taken to the Account details screen directly.
Enabling this option will display the coupon box during checkout. Disabling this option will show a Apply coupon link in the checkout. Customers can apply coupons by clicking the link.
Chargebee allows you to perform a backend operation where you can set the minimum and maximum quantity of plans/add-ons etc. Read more about meta configurations here. Enabling this option allows Chargebee to read the configuration and set the quantity based on it. Refer to this section to learn more on setting quantity for plans and add-ons.
A Purchase Order (PO) is a document generated by the buyer in order to authorize a purchase transaction. A PO Number uniquely identifies a purchase order and is generally defined by the buyer. The buyer will match the PO number in the invoice to the Purchase Order. Read more.
You can choose to collect this PO number from your customers during checkout by enabling the ‘Collect PO number from customers' option. You also have the option of making it mandatory or not.
This PO number will get updated under the Subscriptions Info section of the subscription.
Enabling this option will pick the customers locale from their browser in case they have not mentioned it. Click here to see how to set locales otherwise.
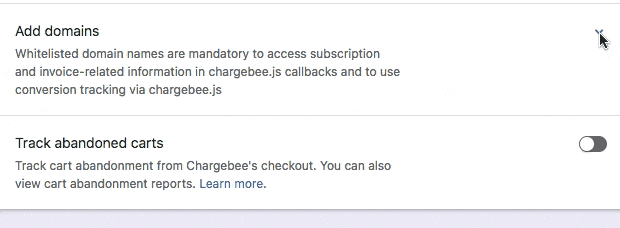
It is mandatory to allow-list domain names for the purpose of accessing subscription and invoice-related information during callbacks and conversion tracking. Given below are a few scenarios
As shown above, the URLs should include the protocol: whether http or https.
When the customer leaves a checkout page unattended for 30 minutes, or when they close the webpage and not return to it, it is counted as an Abandoned Cart. Abandoned cart tracking allows you to measure how many visitors/customers leave the checkout without completing a purchase, leaving items in the cart. Chargebee allows you send email notifications to these customers reminding them to complete the purchase. Learn more about Abandoned carts here.
To enable Chargebee access the customer cart information, you must enable the Track abandoned cart setting.
Note: Tracking data is only kept for 30 days and older data is deleted. This is to prevent the accumulation of user data for longer than is necessary for the purpose.
Chargebee allows your customers to login to their self serve portal using a password or a OTP (one time password). This depends upon the configuration that you have setup in your Chargebee account.
Note: This is applicable only for users who have not set up single sign on .
To configure:

Available options are:
OTP: A one time password will be sent to the customer's email address. Your customer will have to enter that to login to the self serve portal.
Password or OTP: Your customers can choose to authenticate via an OTP or a password. In case you have set a password, your customers will be prompted for that first. They can choose to login using an OTP by clicking the Login via one time password link.
Read about setting/changing your password.
Once you enable the necessary settings, you need to publish them. In case you don't they will be saved as a draft. Please do note that the changes that you make will be effective only after you publish. To publish click the Publish button in the top right corner.
You can disable all these settings by clicking the Disable button. Disabling will terminate all the actions pertaining to checkout immediately and your customers will not be able to access Chargebee checkout.
