Navigate to Settings > Team Members to add/delete and modify users of your Chargebee account.
You can assign users different roles in your site. These roles define various job functions that chalk out the kind of access each user will have to your site.
In other words, a role allows a user particular functionality within your Chargebee site so that they can perform a task or set of tasks.
You can create and add users to your Chargebee site depending on your plan.
Click Invite Members to invite a user to use your site.
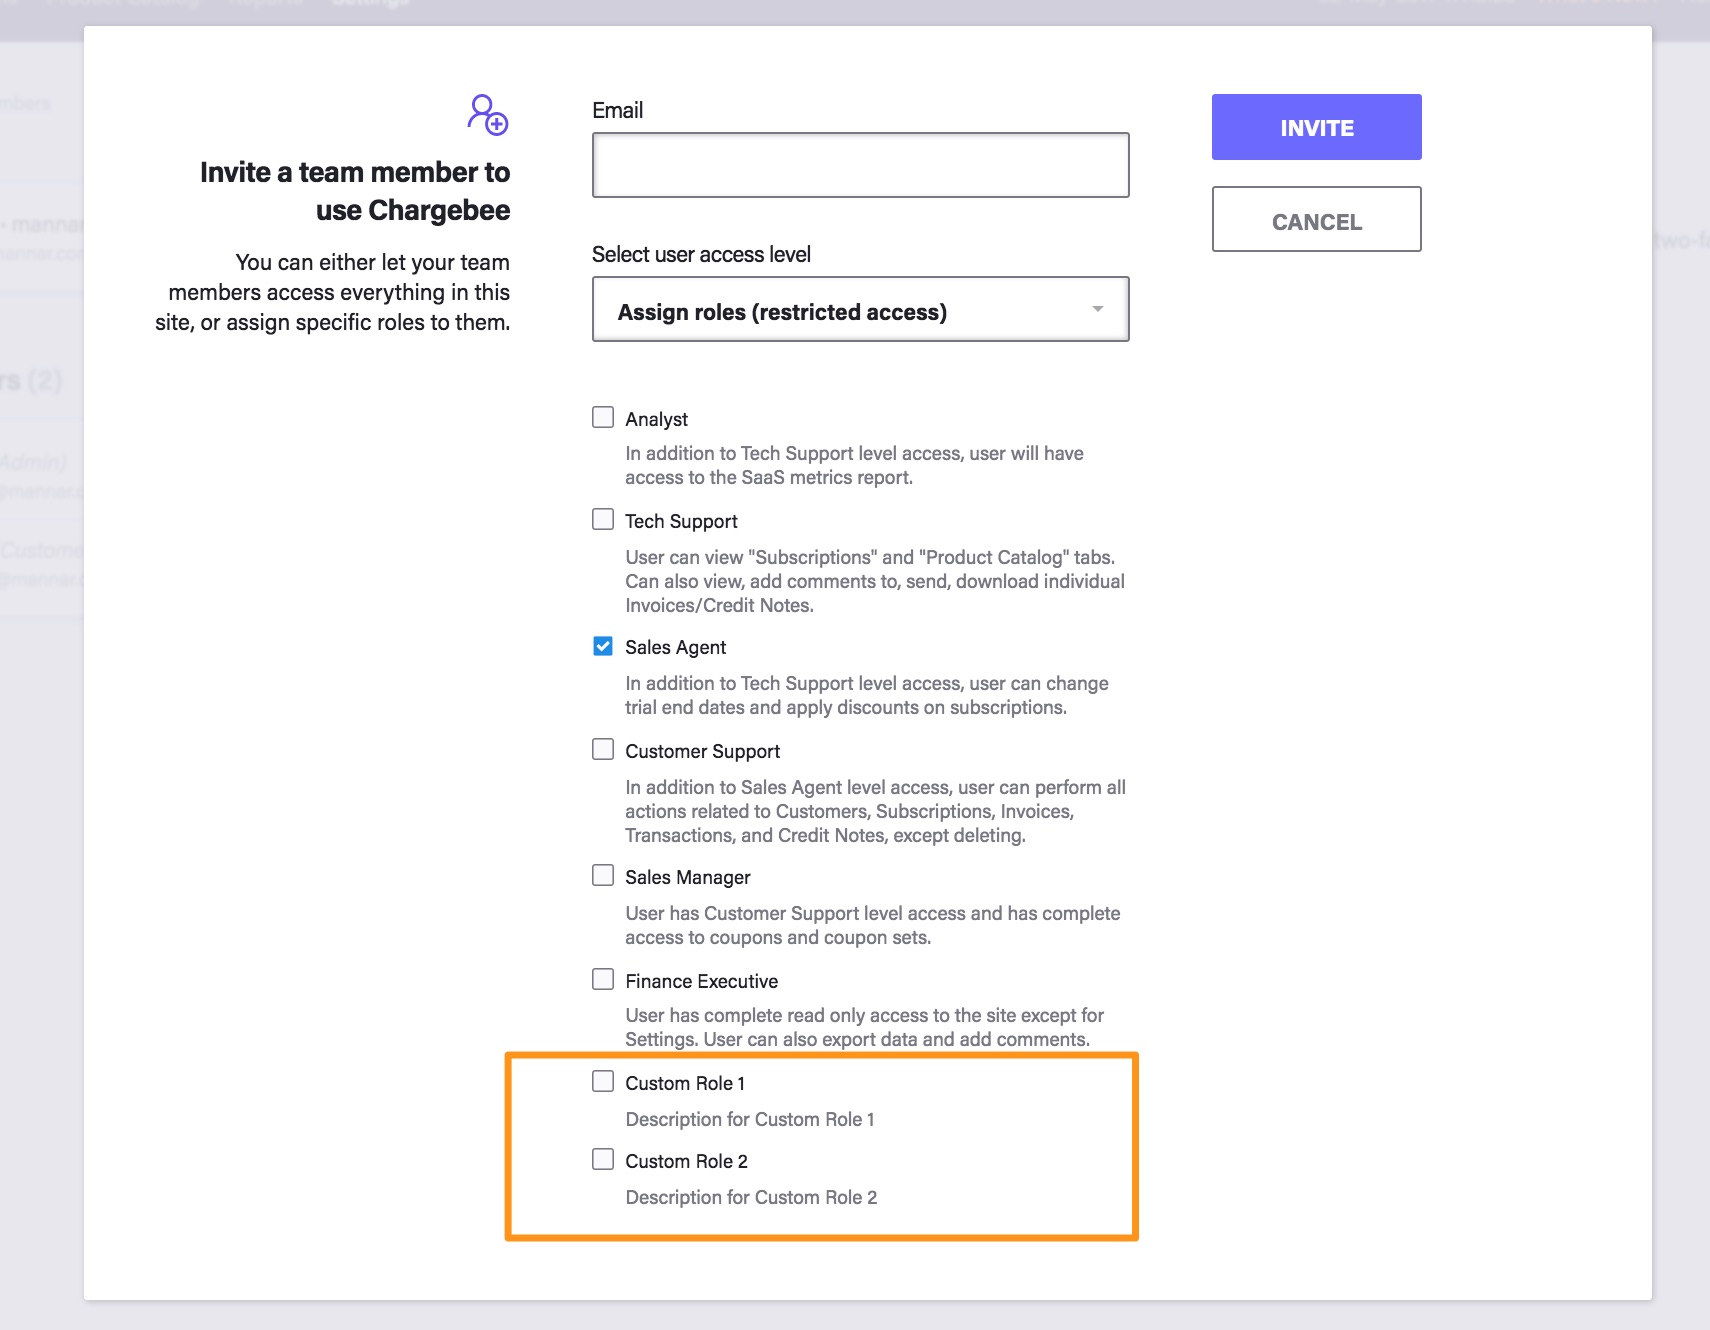
You need to specify what role you would like to assign the new user (and define the kind of access to the site you will be granting them) before you send out the invite.
The available user roles are:
Each of these roles comes with certain restrictions to the Chargebee site. In case you would like to provide a user full access to your Chargebee site, choose the Provide Full Access option when sending out an invitation to the user to come aboard. Such users are called admins in Chargebee.
Chargebee provides the option to provide a user with the full access.

You can add custom roles to your Chargebee site. Click here to know more.
The user will receive an email notification along with a link to activate their account (or create one, if they have not signed up for Chargebee yet). Their account will remain in the Pending Invites list until they activate their account.
Once you have created users, you can (at any time) edit their profile to change their role. You can also assign a user more than one role. i.e a user can be both a finance executive as well as a customer support user and they will have access to the functionalities available for both user roles.
Users invited from the TEST site will not be able to access the LIVE site. You need to explicitly invite users from the LIVE site as well if you need to give them access to it.
Chargebee supports transferring ownership of the site. This means that the current owner of the site will be able to transfer ownership to another user, a permanent change that will reflect in both the TEST site and the LIVE site (even if the LIVE site has not been enabled yet).
After the ownership has been changed, the previous owner's role will then be restricted to that of an admin in the TEST and LIVE sites. If the LIVE site has not been enabled, the previous owner would become the admin for the TEST site, but not for the LIVE site.
The account ownership can be changed by the current owner of the site alone, by selecting the Make Owner option against each user listed on the Settings > Team Members page.

When the ownership has been successfully changed, an email notification will be sent to both the old as well as the new owners regarding the action.
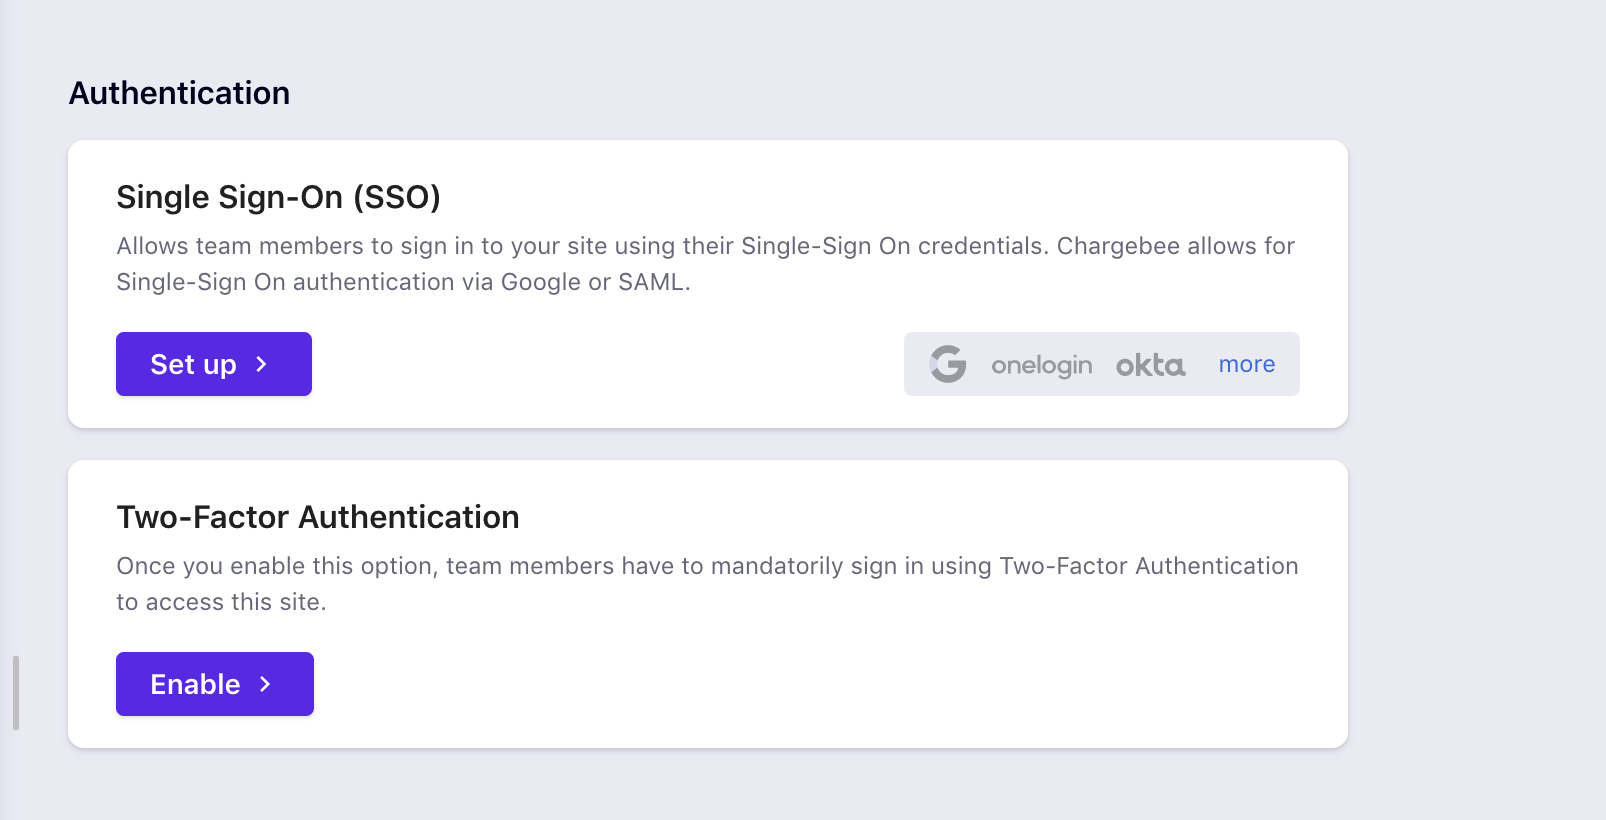
If there are multiple users for your Chargebee site, security might be a concern. Chargebee allows you to configure team-wise authentication settings.
To configure the same, log in to your Chargebee site as Admin and navigate to Settings > Security.
But the following options will help you set up a policy in action:

Mandatory sign-in via Google account: You can make it mandatory for every user of your site to log in using the Google single sign-on. With this option, your users will not be able to access the site without authenticating themselves using their Google accounts. This option will also be helpful for secure access to your site when a team member transitions out of your organisation, so do not have to remember and disable a user manually.
Mandatory sign-in via SAML: You can make it mandatory for every user of your site to log in using SAML. With this option, users can authenticate and login using your organisation's Identity Provider.
Mandatory sign-in using a six-digit code (Two factor authentication): You can make it mandatory for every user of your site to log in using 2FA. With this option, users will be prompted for a unique six digit code (valid once) every time they sign into the application.
You can make both sign-in methods mandatory by enabling both options in the settings. In this case, every users will have to authenticate using both, Google account and a six digit code to access the site.
For a detailed review of the 2FA feature and the sign-up steps involved, check out our Two Factor Authentication (2FA) page.
If the predefined roles in Chargebee don't grant the privileges you want to assign to a user, create a custom role.
Each custom role can include one or more privileges that let users with that role perform specific tasks as required.
Now, to add new Customized User Roles to Chargebee account, you need to contact [email protected]
You can create custom roles and define actions as per your requirement.
You can configure privileges in the following modules:
The new customized user roles will be added along with Chargebee's predefined user roles.

To assign Customized User Role to a user, navigate to Settings > Team Members and assign the new Role created to the users.